


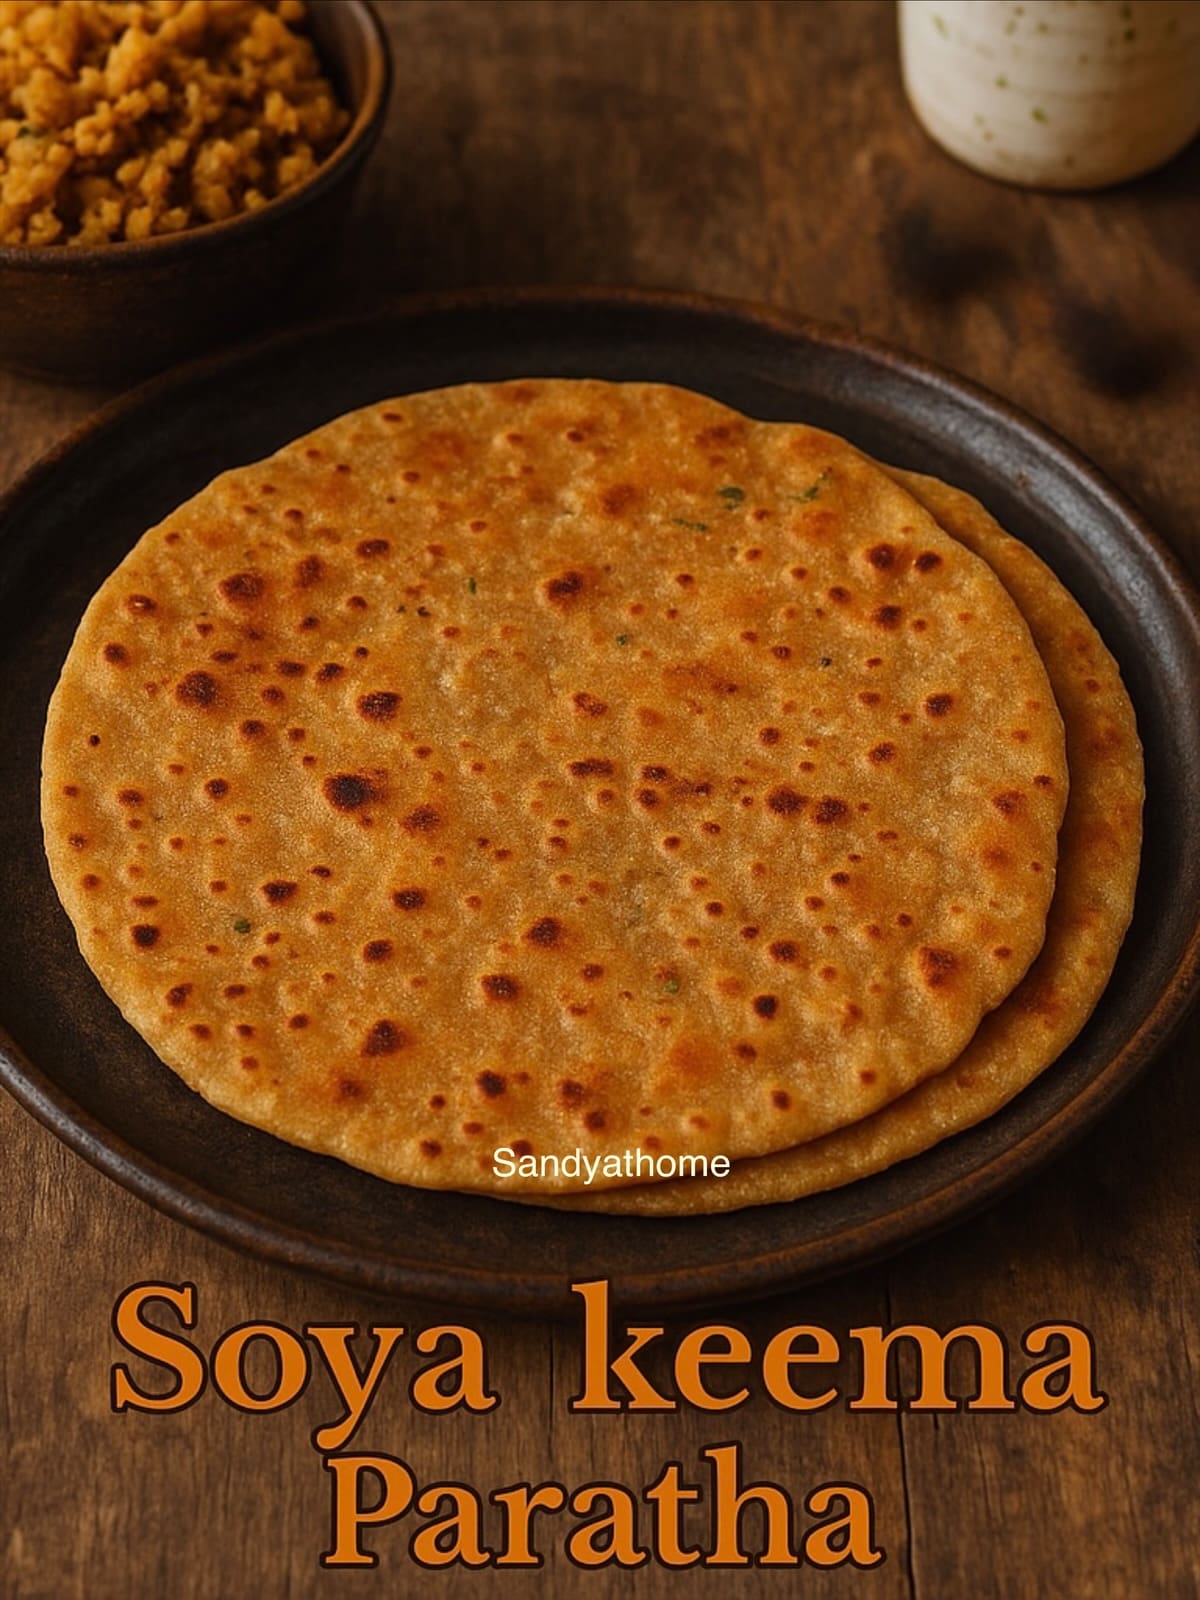
Soya keema paratha (also called veg keema paratha) is a wholesome, spicy stuffed flatbread made with protein-rich soya chunks and whole wheat flour. The star here? That irresistible soya/ veg keema filling — made by tossing minced soya chunks with a bold, spiced onion masala. Trust me, this paratha looks and tastes so much like classic mutton keema paratha, you’ll barely miss the meat!
This recipe involves two simple steps: making the soft outer dough and preparing the flavorful soya keema stuffing. It may look lengthy, but once you get started, it’s surprisingly easy — even beginner-friendly.
I often pair this with onion raita or cucumber curd for a comforting dinner. For a twist, try adding finely chopped green chilies or a handful of cooked green peas (matar) to the stuffing — they bring that extra zing and heartiness. And yes, spice lovers, feel free to turn up the red chili powder!
Whether you’re trying to eat more plant-based meals or just craving something different for your flatbread rotation, this soya/ veg keema stuffed paratha is a must-try!
Jump to RecipeIngredients & Their Roles
| Ingredient | Role in the Dish |
|---|---|
| Wheat Flour | Forms the outer paratha dough. It provides structure and chewiness while keeping the paratha wholesome and fiber-rich. |
| Salt | Enhances overall flavor, both in the dough and the filling. |
| Oil | Adds softness to the dough and helps roast the parathas evenly on the tawa. Also used for sautéing the spices in the stuffing. |
| Soya Chunks | The star ingredient! When rehydrated and minced, they mimic the texture of keema, making this a delicious vegetarian alternative to meat. |
| Onion | Adds sweetness and depth to the stuffing when sautéed, balancing the spices. |
| Cumin Seeds | Infuse a warm, earthy aroma and add a slight crunch when tempered in hot oil. |
| Ginger Garlic Paste | Builds a strong, savory base and helps eliminate any raw flavor from the soya. |
| Turmeric Powder | Brings a golden hue and subtle bitterness; it also has antibacterial properties. |
| Red Chili Powder | Adds heat and a vibrant color to the soya keema. |
| Garam Masala | The essential Indian spice blend that gives the filling its signature warm, spiced flavor. |
| Fresh Coriander Leaves | Brightens the mixture and adds a fresh, herby contrast to the spices. |
| Water | Used to knead the dough and cook the soya chunks. |
Other recipes with soya chunk that might interest you:
I have posted many paratha recipe earlier with stuffing and without stuffing with maida and with wheat flour, but this keema paratha is my all time favorite one.
Soya keema paratha, How to make veg keema paratha
3
servings10
minutes30
minutes15
minutesSoya keema paratha is a healthy, spicy and tasty stuffed flatbread prepared by stuffing soya keema in wheat flour dough, then flattened and cooked on tawa.
Ingredients to make soya keema paratha dough
2 cups, Wheat flour/ Atta
1 teaspoon, Oil
Salt – as per taste
Water – to knead dough
- INGREDIENTS FOR SOYA KEEMA PARATHA STUFFING
1 cup, Soya chunks
1 nos., Onion (small sized)
1/2 teaspoon, Ginger garlic paste
1 teaspoon, Red chili powder
1/2 teaspoon, Garam masala powder
1/4 teaspoon, Turmeric powder
Salt – to taste
1 tablespoon, Oil
1/4 teaspoon, Cumin seeds
1 tablespoon, Cilantro
5 tablespoon Oil/ butter (for making paratha)
Directions to make Soya kheema paratha
- Make the Dough:
In a mixing bowl, add wheat flour, salt, and oil. Mix well. Gradually add water and knead into a soft dough. Cover and let it rest for 20 minutes. - Prepare Soya Keema:
Boil water in a pot with a pinch of salt. Add soya chunks and switch off the flame. Let it soak for 5–10 minutes until they double in size. - Make the Soya Keema
Add the soya chunks to a blender or food processor and pulse a few times until they resemble coarse mince or keema. It should look crumbly but not pasty — we’re aiming for a texture similar to minced meat. - Cook the Stuffing:
Heat oil in a pan. Add cumin seeds. Once they crackle, add chopped onions and sauté till golden. Add ginger garlic paste and cook till the raw smell disappears.
Now add turmeric, chili powder, garam masala, and salt. Mix well.
Add the minced soya and sauté till the mixture is well combined. Cover and cook on low for 3–5 minutes.
Add chopped coriander, mix, and let it cool completely. - Stuff Parathas
Divide dough into equal portions. Roll each into a small disc.
Place a ball of the soya keema filling in the center. Pleat and seal the edges, pinching off any excess dough. - Roll Parathas
Dust lightly with flour and gently roll into a paratha, evenly flattening it without letting the filling spill. - Cook the Parathas
Heat a tawa or skillet. Place the rolled paratha and drizzle a little oil around the edges.
Cook till brown spots appear. Flip and cook the other side similarly.
Once done, serve it hot with raita!
Notes
- * 1 cup = 235 ml
HOW TO MAKE SOYA KEEMA PARATHA WITH STEP BY STEP IMAGES
- Make the Dough:
In a mixing bowl, add wheat flour, salt, and oil. Mix well. Gradually add water and knead into a soft dough. Cover and let it rest for 20 minutes.
- Prepare Soya Keema:
Boil water in a pot with a pinch of salt. Add soya chunks and switch off the flame. Let it soak for 5–10 minutes until they double in size. - Make the Soya Keema:
Add the soya chunks to a blender or food processor and pulse a few times until they resemble coarse mince or keema. It should look crumbly but not pasty — we’re aiming for a texture similar to minced meat. - Cook the Stuffing:
Heat oil in a pan. Add cumin seeds. Once they crackle, add chopped onions and sauté till golden. Add ginger garlic paste and cook till the raw smell disappears.
Now add turmeric, chili powder, garam masala, and salt. Mix well.
Add the minced soya and sauté till the mixture is well combined. Cover and cook on low for 3–5 minutes. - Cook the stuffing:
Add the minced soya and sauté till the mixture is well combined. Cover and cook on low for 3–5 minutes. - Rest the stuffing:
Add chopped coriander, mix, and let it cool completely. - Prepare Dough Balls for Stuffing:
Now pinch a small portion of dough and flatten it into small circle. - Stuff Parathas:
Divide dough into equal portions. Roll each into a small disc.
Place a ball of the soya keema filling in the center. Pleat and seal the edges, pinching off any excess dough. - Roll Parathas:
Dust lightly with flour and gently roll into a paratha, evenly flattening it without letting the filling spill - Cook the Parathas:
Heat a tawa or skillet. Place the rolled paratha and drizzle a little oil around the edges.
Cook till brown spots appear. Flip and cook the other side similarly.
Once done, serve hot with raita! Repeat till dough is complete!


Pro Tips for Perfect Soya Keema Paratha
- Don’t over-blend the soya chunks. Just pulse until it resembles coarse mince. Overdoing it can turn it pasty and ruin the texture.
- Let the stuffing cool completely before rolling the parathas — warm filling can tear the dough.
- Seal well. Pinch and pleat the dough carefully to avoid stuffing from leaking while rolling or cooking.
- Roll gently and evenly. Use light pressure while flattening the stuffed dough to prevent breaking.
- Adjust spice to taste. You can skip green chili for kids or add more garam masala for deeper flavor.
- Serve hot off the tawa. Soya keema parathas taste best fresh, with a bowl of chilled curd or raita on the side.
- Make-ahead idea: You can prep the keema stuffing a day in advance and refrigerate it to save time on busy mornings.
Serving Suggestions
- Pair hot soya keema parathas with onion raita, boondi raita, or plain curd for a balanced meal.
- Add a spoon of homemade pickle or a dash of green chutney for that extra zing.
- For a fuller lunchbox idea, include a salad of cucumber, carrot, and lemon wedges on the side.
- A cup of masala chai also makes a cozy partner if you’re enjoying this as a brunch dish!
FAQs About Soya Keema Paratha
Yes! If using soya granules, skip the blending step. Just soak, squeeze, and sauté directly.
Let the filling cool fully, don’t overstuff, and always roll gently with light pressure.
Yes, it’s completely vegan if served without curd. For a vegan side, pair it with coconut yogurt or mint chutney.
Absolutely. Half-cook the parathas on both sides (until light spots appear), cool them, and store them between parchment in an airtight box. Just reheat on the tawa when needed.
You can dry roast the parathas on a non-stick tawa and brush with minimal oil or ghee at the end.
Related posts:
 Chicken keema samosa recipe, Keema samosa
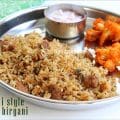 Thalappakatti soya chunks biryani, Thalappakatti veg biryani
 Veg Kari Dosa with Soya Chunks (Street-Style Tamil Special)
 Egg keema recipe, Anda keema
 Soya Seekh Kebab, Veg kebab, How to make Vegan Kebab
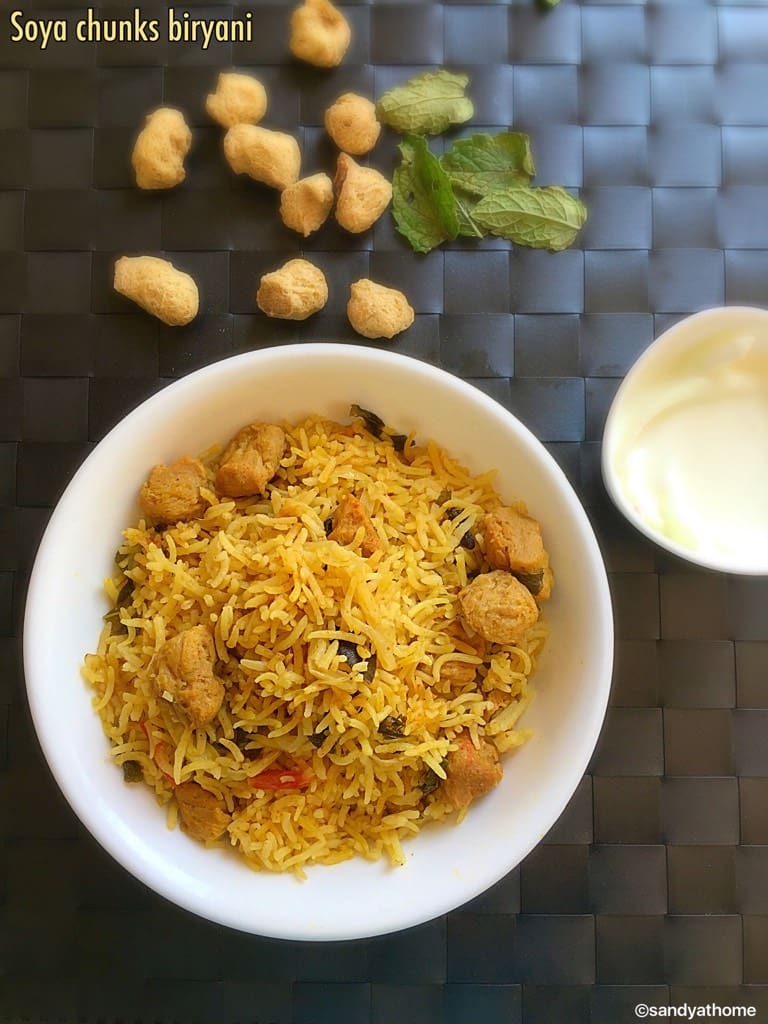 Soya chunks biryani recipe, Meal maker biryani, How to make soya chunks biryani
 Broccoli paratha recipe, How to make broccoli paratha
 Shelter in place recipes
 Soya chunks kola urundai recipe, Veg kola urundai
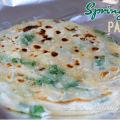 Spring onion paratha, How to make Spring onion paratha
