
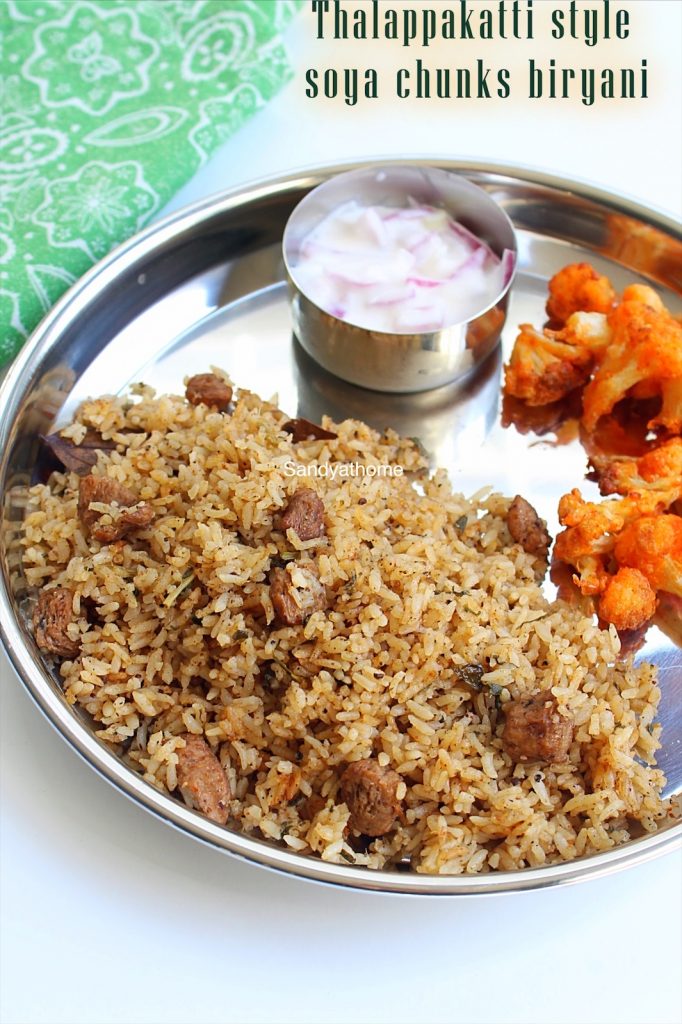
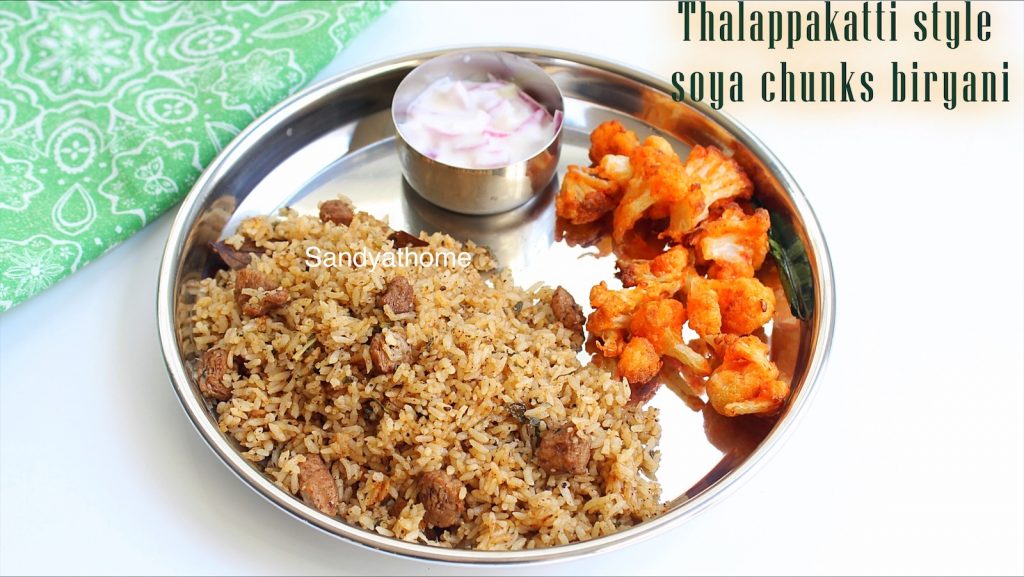
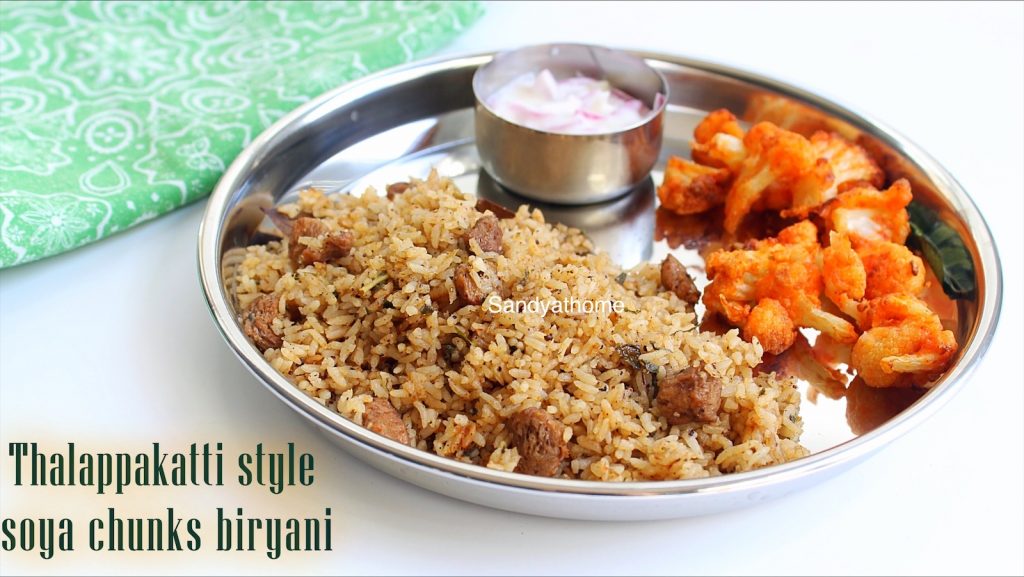
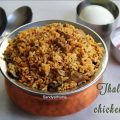
Thalappakatti style soya chunks biryani/ Thalappakatti veg biryani is a vegetarian version of the popular Dindugul thalappakati biryani. It is known for their unique style seeraga samba chicken and mutton biryani loaded with spices.
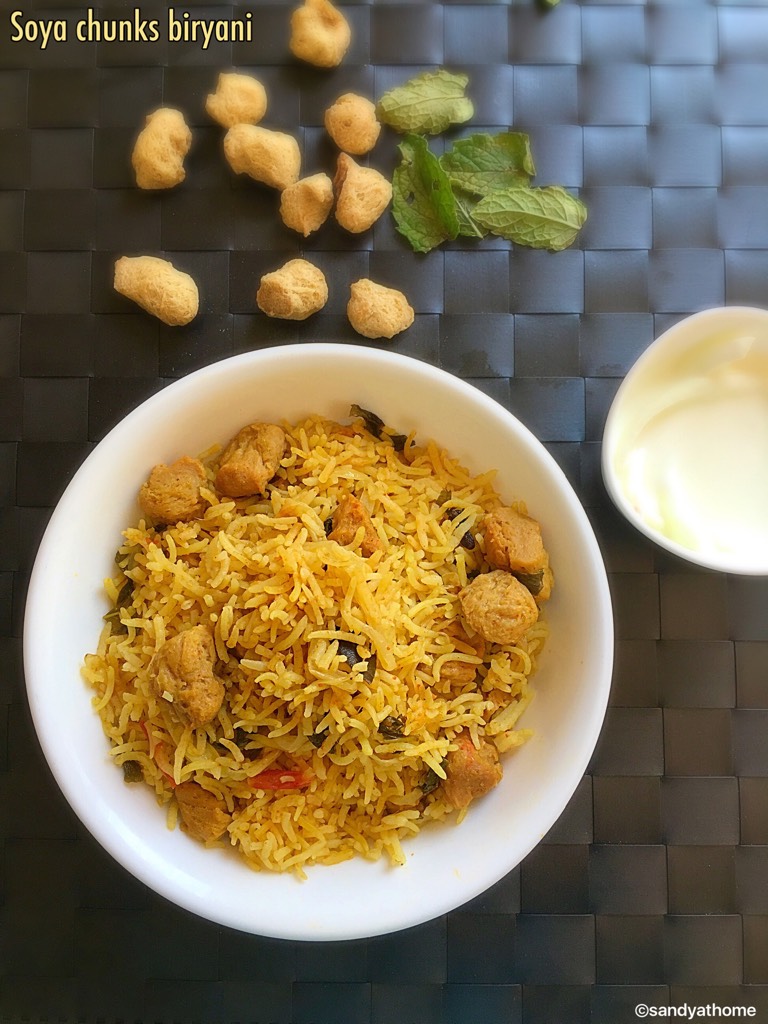
In this recipe I have replaced chicken with soya chunks. It has equal amount of protein just like chicken. It is also a best replacement for meat that vegetarians can relish.
I made this biryani during the initial stages of lockdown. When we couldn’t get meat/ were little concerned about getting meat/things from outside. We also managed with things that I had at home, like homegrown mint cilantro and chili.
This Thalappakatti veg biryani recipe was a handy, tummy filling and most importantly delicious one too. Any meat lover would love to try. Since I dint have much veggies at home during initial lockdown tried making with soya chunks that I had at home. But the restaurant serves plain/ veg biryani in the chicken/ mutton version that is something I need try my hands on.
You can try making the same recipe with mushrooms/ keep it plain and serve with some boiled eggs as well and it will taste yum. This recipe requires a lot of grinding and little patience to get the base masala right but trust me the wait will be worth.
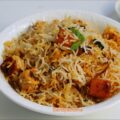
I served this biryani with gobi 65 and onion raitha. I have posted an interesting recipe as well with it gobi 65 rice. I made this Thalappakatti veg biryani in pressure cooker dum method. But you can make the same recipe in dum style in pan / pressure cooker method with whistle on. I have explained in detail about all in the description.
Thalappakatti veg biryani recipe has an important ingredient called dhagad phool/ kalpasi/ stone flower. It is a game changer in this biryani so do not attempt this recipe without it as the whole flavor of the biryani will be lost. Also use only seeraga samba rice for this biryani as this biryani stands unique with that.
I am not claiming that this biryani is authentic/ original one but surely can say a little close to its taste, well we don’t their recipe for sure. So passing on some flavors from kitchen to yours and let me know your feedback. So let’s get to the making of Thalappakatti veg biryani!
You may be interested in other recipes below:
Thalappakatti soya chunks biryani, Thalappakatti veg biryani
2
servings15
minutes45
minutesThalappakatti style soya chunks biryani/ Thalappakatti veg biryani is a vegetarian version of the popular Dindugul thalappakati biryani. It is known for their unique style seeraga samba chicken and mutton biryani loaded with spices.
Ingredients to make Thalappakatti soya chunks biryani
2 cups, Seeraga samba rice
3/4 cup, Soya chunk/ Meal maker
2 nos., Onion (big sized)
2 nos., Green chili
3 tablespoon, Ginger and garlic paste
1/2 cup, Mint
1/2 cup, Cilantro/ Coriander leaves
1 teaspoon, Red chili powder
1/4 teaspoon, Turmeric powder
Salt – to taste
1/4 cup Curd
1 nos., Lemon
5 tablespoon, Ghee
- INGREDIENTS TO GRIND
2 nos., Bay leaf
2 nos., Cardamom
4 nos., Cloves
1/2 teaspoon, Peppercorn
1 teaspoon, Dagad phool/ Kalpaasi (important)
1/2 teaspoon, Cumin seeds
1 nos., Cinnamon stick
1 nos., Star anise
Directions to make Thalappakatti soya chunks biryani
- In a bowl wash and soak seeraga samba rice in enough water for 20 minutes. Keep it aside.
- In a pot of water add salt. When the water starts boiling add soya chunks in it. Allow the mixture to boil well for 8 to 10 minutes. Allow the soya chunks in the water for 15 minutes. After 15 minutes you will notice soya chunk double in size. Drain the water and squeeze excess water from soya chunk. Keep it aside.
- In a blender add all the whole spices and grind it into fine powder. Prior to grinding you can dry roast it for few seconds in low flame for easy grinding. Keep the powder aside.
- In a blender add chopped onion and grind it into corse paste. Keep it aside.
- In a pan/ pressure cooker add ghee add whole spices, when it is hot enough add 2 tbsp chopped mint and cilantro, saute for few seconds then add ginger garlic paste. Saute well until raw smell is gone. Now add ground onion paste. Sauté well in low to medium flame until oil oozes out. This should take about 8 minutes. Sauteeing onions well is important as this gives excellent color and flavor to the biryani. Fo this step saute patiently without letting it burn/ brown. Some good elbow work I say

- After 8 to 10 minutes oil will ooze from the sides, then add the soya chunks, turmeric, red chilli powder and the ground masala powder. Saute well until the soya chunk is well coated in masala.
- When the soya chunks are well coated in masala add curd and mix well. This should take less than a minute. Now add 3 cups water and lemon juice. (I am using 1 :1 ½ ratio i.e rice : water) Mix well and check for salt. Allow the mixture to boil. When the mixture starts to boil add soaked rice and give it a gentle stir.
- When the mixture has started to boil close it and pressure cook for 2 whistles in medium flame. When the pressure has subsided allow it to rest for 5 more minutes. Now open the cooker.
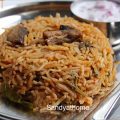
- When the rice looks done take it from the sides using spatula and fluff it gently. Serve it hot with raita!
- (As shown in the picture I dint put the whistle so what I did was kept the flame in high for 4 to 5 minutes then put the flame to low for 10 minutes. After 10 minutes I switched off the flame snd allowed the rice to rest for 5 more minutes. So after 20 minutes open the pressure cooker when the rice looks done fluff gently from sides and serve it hot with raita.)
- If you are cooking in pan/ open stove method then follow this method. Now cover the with lid and place a tawa under the pan cook for 5 minutes in high flame. After 5 minutes open the lid and you should see rice half cooked with little water left. Now close the pan with lid and cook for 15 minutes in low flame. After 15 minutes of cooking put off the flame and allow the biryani to rest for 5 more minutes. After 5 minutes fluff the rice gently and serve it hot with raita!
Notes
- * 1 cup = 235 ml
HOW TO MAKE THALAPPAKATTI SOYA CHUNKS BIRYANI WITH STEP BY STEP IMAGES
- In a bowl add seeraga samba rice.

- Wash and soak seeraga samba rice in enough water for 20 minutes. Keep it aside.

- In a pot of water add salt. When the water starts boiling add soya chunks in it. Allow the mixture to boil well for 8 to 10 minutes. Allow the soya chunks in the water for 15 minutes. After 15 minutes you will notice soya chunk double in size. Drain the water and squeeze excess water from soya chunk. Keep it aside.

- In a blender add all the whole spices snd grind it into fine powder. Prior to grinding you can dry roast it for few seconds in low flame for easy grinding. Keep the powder aside.

- In a blender add chopped onion and grind it into corse paste. Keep it aside. Ina blender add ginger and garlic, grind it into paste and keep it aside. You can add green chili while grinding the paste which is optional.

- In a pan/ pressure cooker add ghee add whole spices, when it is hot enough add 2 tbsp chopped mint and cilantro, saute for few seconds then add ginger garlic paste. Saute well until raw smell is gone.

- Now add ground onion paste. Sauté well in low to medium flame until oil oozes out. This should take about 8 minutes. Sauteeing onions well is important as this gives excellent color and flavor to the biryani. Sorry guys I forgot to take pic of the sauteed onions in the cooker so used a picture of the same when I made it on pan. For this step saute it patiently without letting it burn/ brown. Some good elbow work I say

- After 8 to 10 minutes oil will ooze from the sides, then add the soya chunks, turmeric, red chilli powder and the ground masala powder. Saute well until the soya chunk is well coated in masala.

- When the soya chunks are well coated in masala add curd and mix well. This should take less than a minute.

- Now add 3 cups water and lemon juice. (I am using 1 :1 ½ ratio i.e rice : water) Mix well and check for salt. Allow the mixture to boil. When the mixture starts to boil add soaked rice and give it a gentle stir.

- When the mixture has started to boil close it and pressure cook for 2 whistles in medium flame. When the pressure has subsided allow it to rest for 5 more minutes. Now open the cooker. When the rice looks done take it from the sides using spatula and fluff it gently. Serve it hot with raita! (As shown in the picture I dint put the whistle so what I did was kept the flame in high for 4 to 5 minutes then put the flame to low for 10 minutes. After 10 minutes I switched off the flame snd allowed the rice to rest for 5 more minutes. So after 20 minutes open the pressure cooker when the rice looks done fluff gently from sides and serve it hot with raita.)

- If you are cooking in pan/ open stove method then follow this method. Now cover the with lid and place a tawa under the pan cook for 5 minutes in high flame. After 5 minutes open the lid and you should see rice half cooked with little water left. Now close the pan with lid and cook for 15 minutes in low flame. After 15 minutes of cooking put off the flame and allow the biryani to rest for 5 more minutes. After 5 minutes fluff the rice gently and serve it hot with raita!
Related posts:
 Soya keema paratha, Soya kheema paratha
 Soya chunks biryani recipe, Meal maker biryani, How to make soya chunks biryani
 Shelter in place recipes
 Thalappakatti chicken biryani recipe, Tamilnadu Thalappakatti Biryani
 Paneer biryani, Paneer dum biryani
 Fish dum biryani recipe, Fish biryani
 Soya chunks, How to cook soya chunks
 Ambur chicken biryani, Seeraga samba chicken biryani
 Ulava charu biryani, Ulavacharu veg biryani
 Instant pot mushroom biryani, Mushroom biryani

